CART (0)
SPEND USD $120.00 MORE ON PARTS FOR FREE U.S. SHIPPING!
CART (0)
SPEND USD $120.00 MORE ON PARTS FOR FREE U.S. SHIPPING!
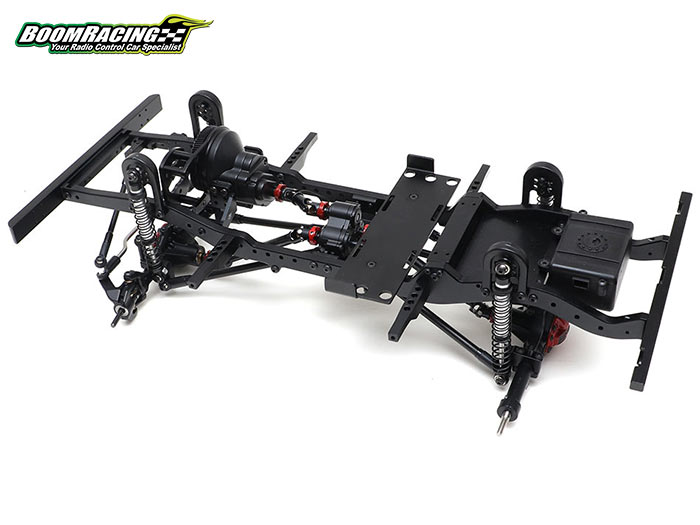
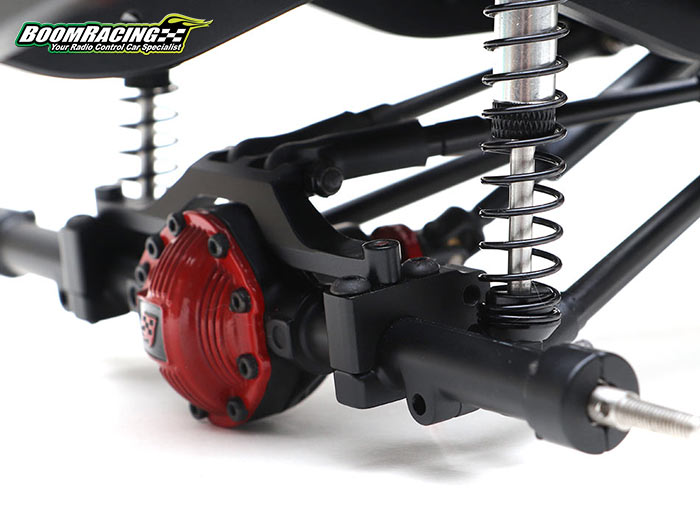
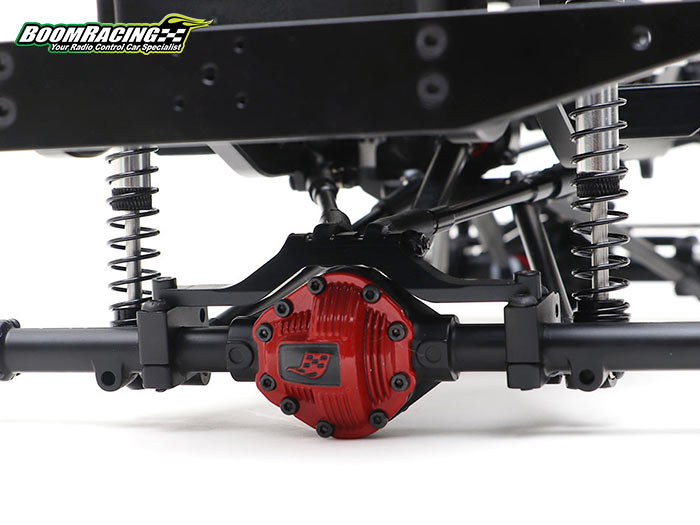
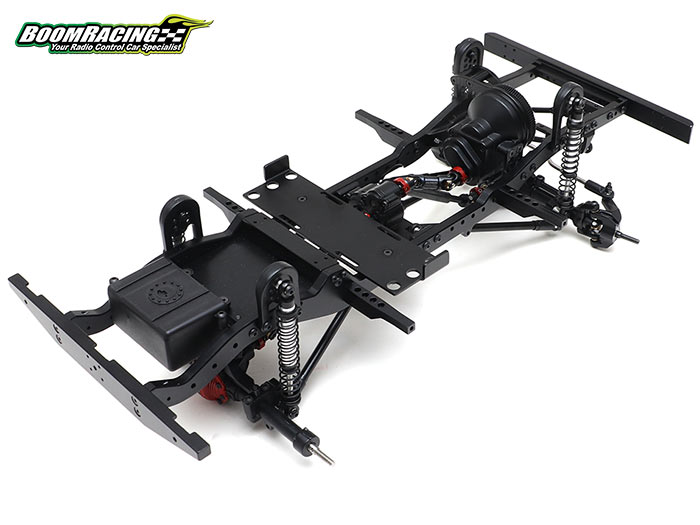
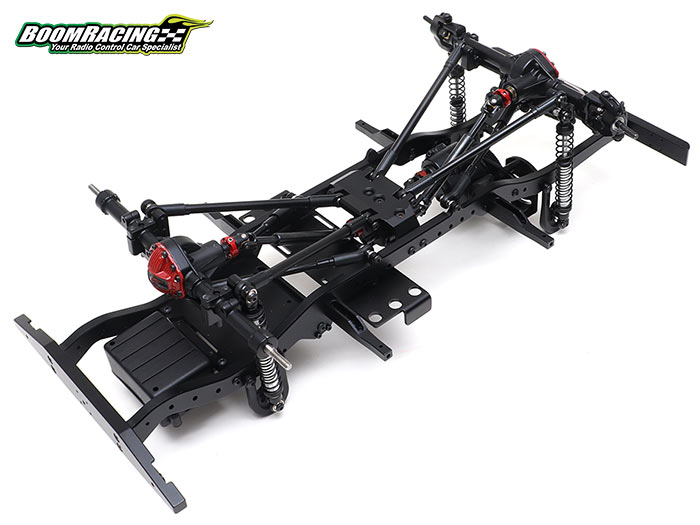
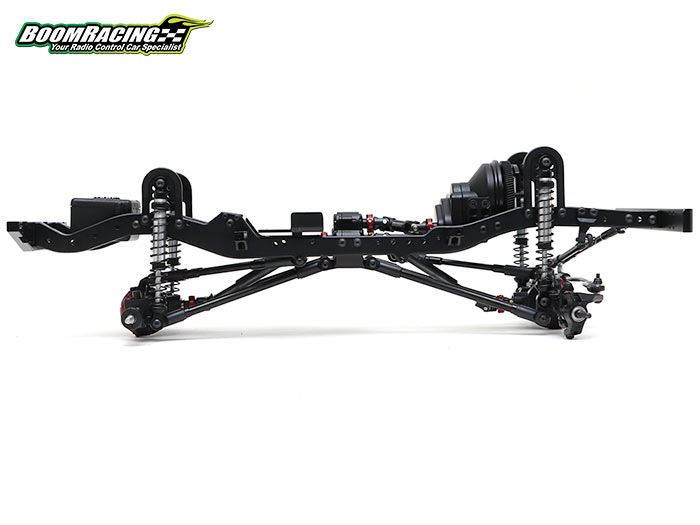
Tired of seeing torque twist? Boom Racing releases the Anti Torque Twist Conversion Kit for the D90 chassis to eliminate it.
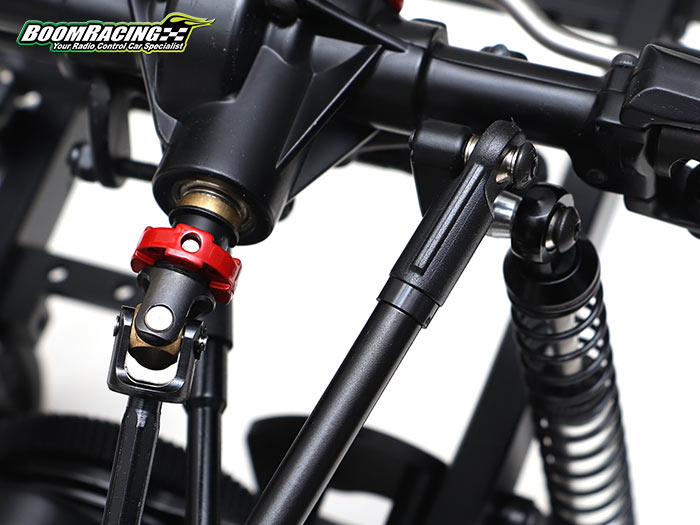
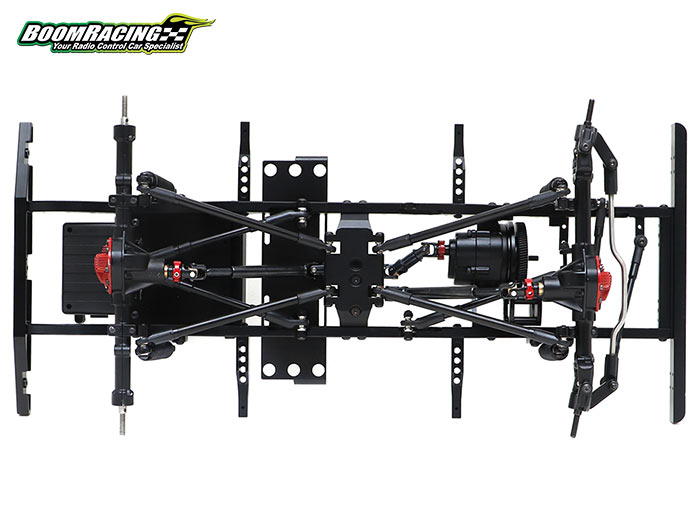
This new upgraded anti-torque twist system has a few different advantages to your conventional setups. It helps increase driving realism by eliminating torque twist.
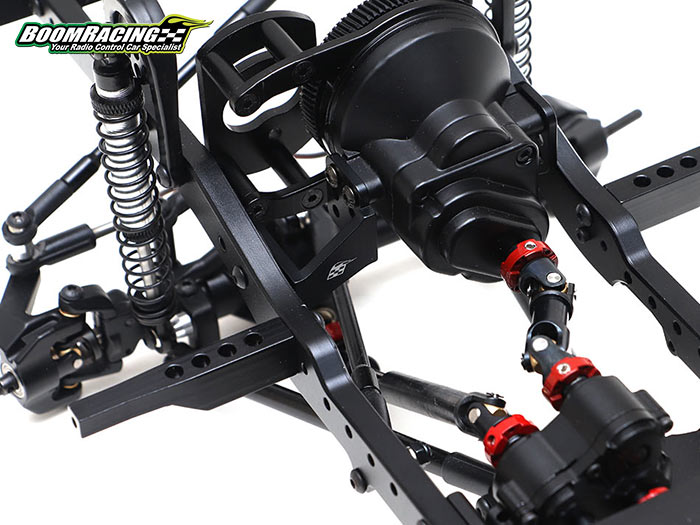
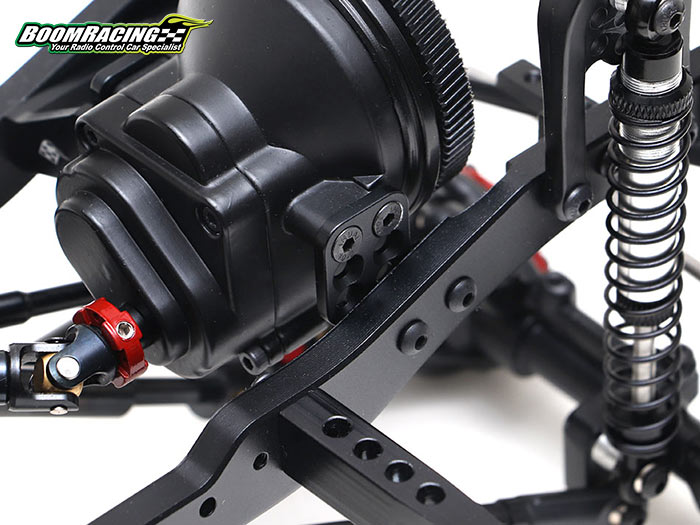
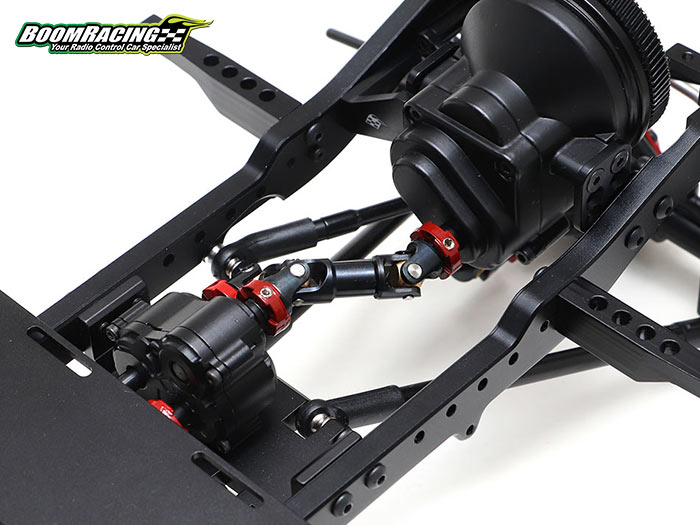
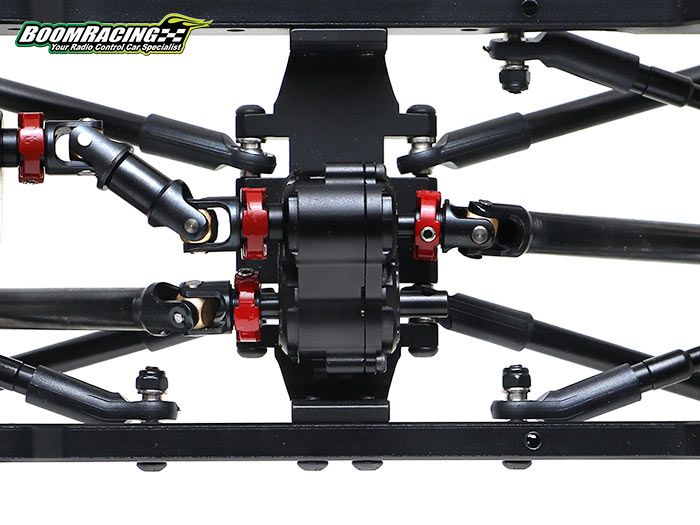
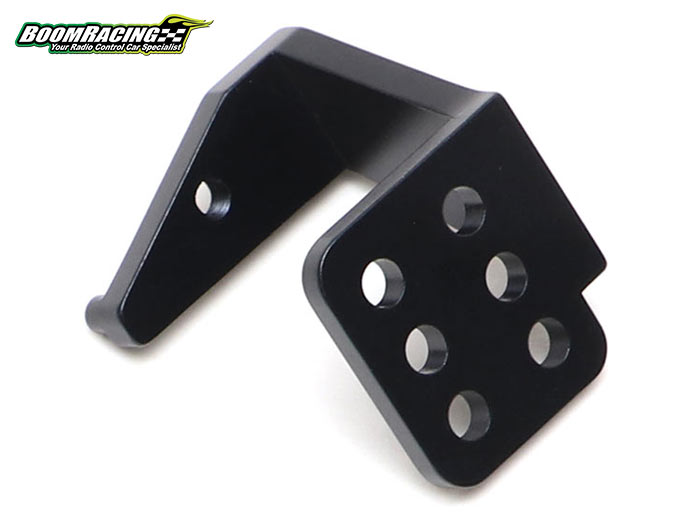
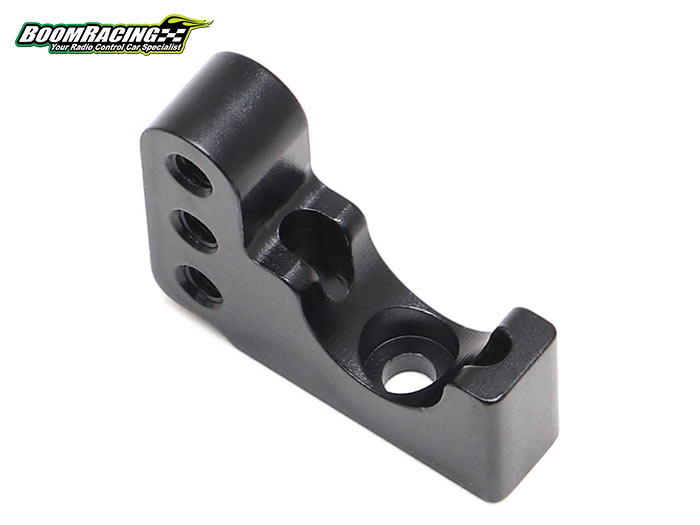
The included adjustable gearbox mount raises the gearbox a little bit higher for more clearance of the upper link and the driveshaft. At the same time it allows you to lower the motor position so that the center of gravity is still in about the same position as the stock position.
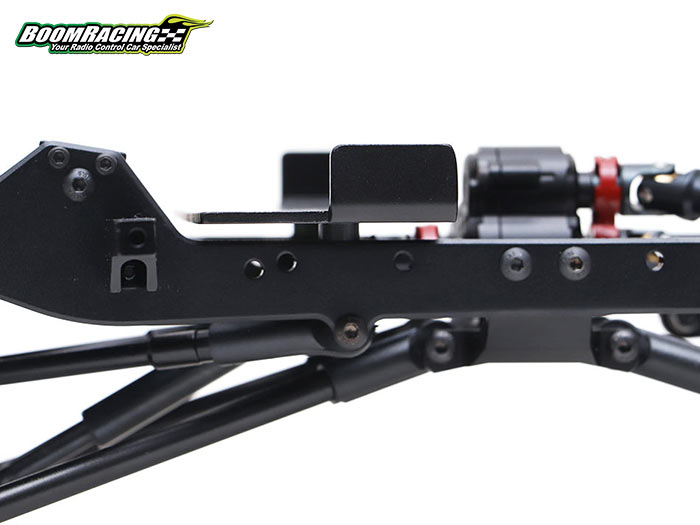
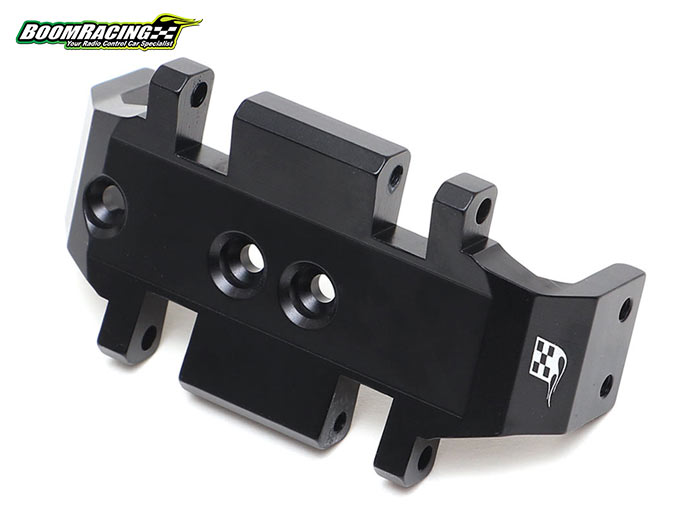
Another feature of this system is the high clearance skid plate. It raises up the skid plate and creates more ground clearance so you don’t get hung up on rocks as easily.
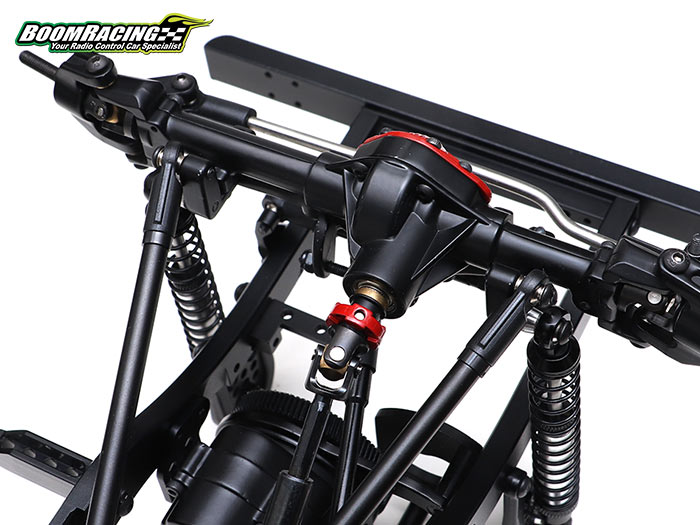
The BRX Anti Torque Twist system reduces twisting of the vehicle when it accelerate. This is because as the two drive shafts rotate in opposite directions, the torques counteract each other. In normal RC crawler drivetrain systems both drive shafts rotate in the same direction making the vehicle twist in one direction.
This BRX Anti Torque Twist Conversion Kit achieves the objective of creating a more scale looking vehicle movement for RC crawlers.
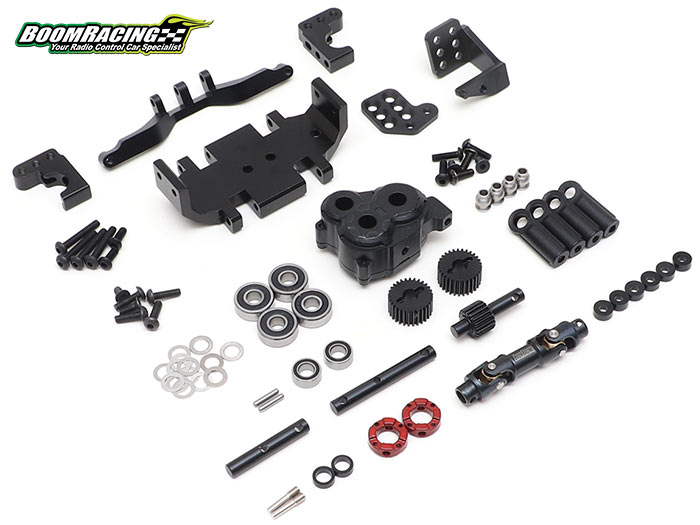
Complete BRX Anti Torque Twist Conversion Kit for D90 Chassis #BRQ763071
Includes:
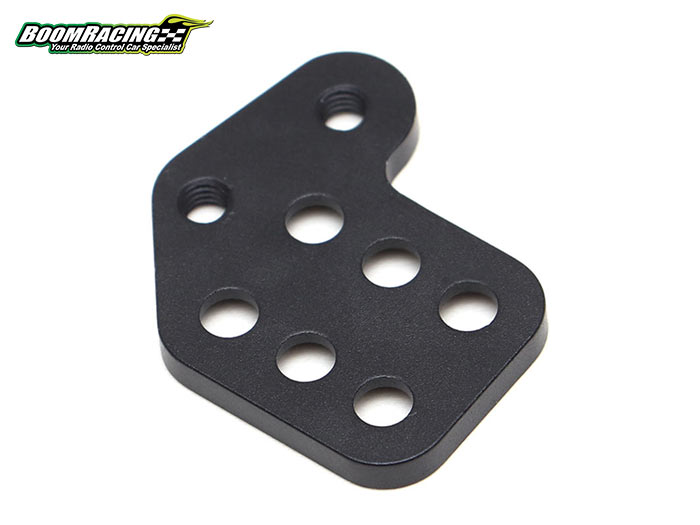
• 1x High Clearance Motor Mount #BR302010BK
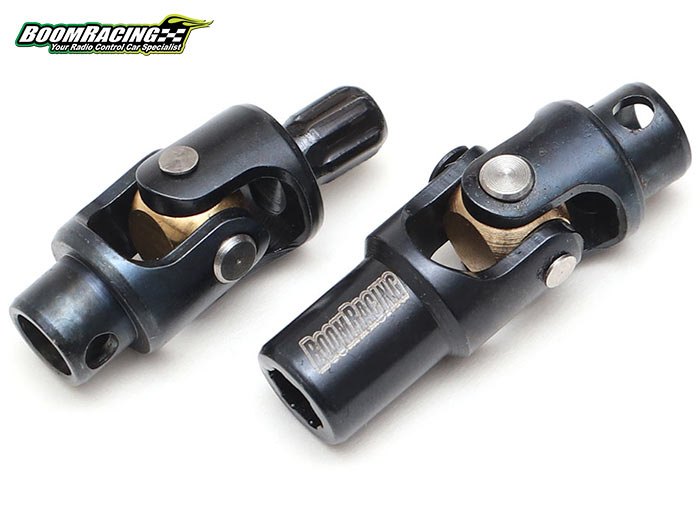
• 1x Voodoo Steel HD Drive Shaft 49mm
• 1x High Clearance Skid Plate #BR302011
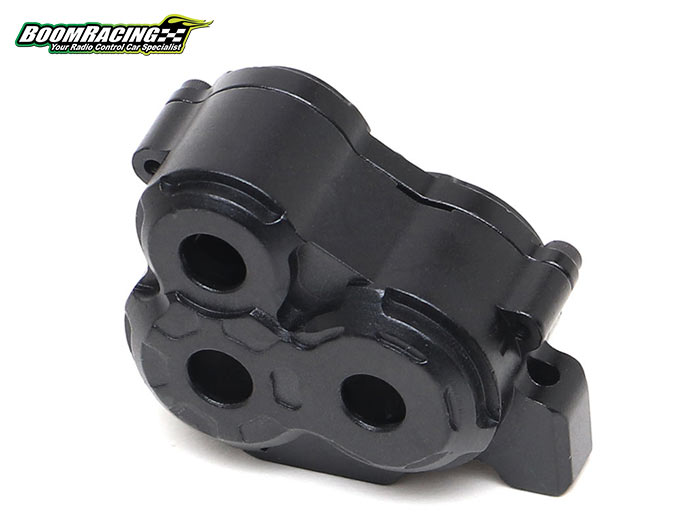
• 1x BRX Anti Torque Twist Transfer Case Set #BRQ763069
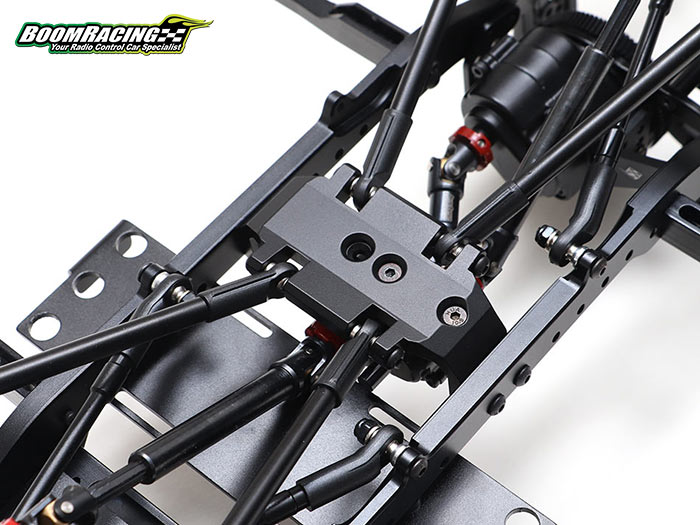
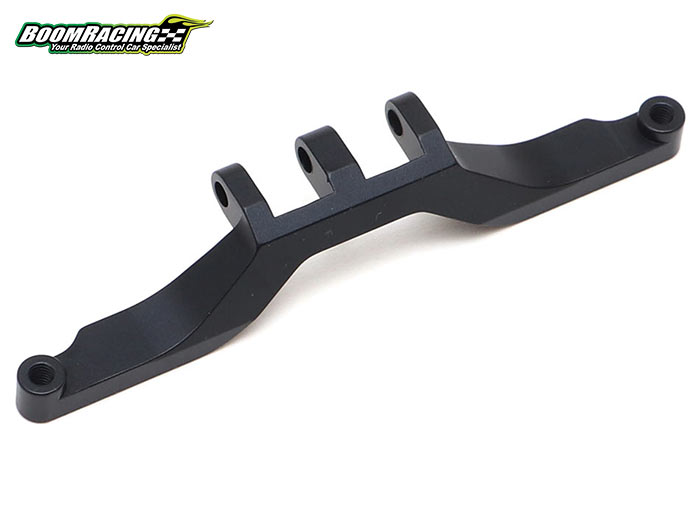
• 1x Counter Rotation Link Mounts with Rear Truss #BRQ763068
• 6x M3x3mm Spacers
• 4x M3 Long Straight Nylon Rod Ends
Installation instruction:

Author:Ricky M
Search for your order with only your order number and email.
We got you. Provide your email address and we will send you a new password.
Request received. We’ve sent an email to . The email might take a few minutes to reach your account. Please check your junk mail if you don’t see it in your inbox.
Choose your preferred currency. We deal with every currency bellow.

